Electric Meter Monitor (software)
Prerequisites: This part of the tutorial assumes that you:
- have a working NodeMCU with the correct firmware installed.
- have a micro USB cable to connect it with
- have either the Open Energy Playground USB stick or a fairly fast internet connection.
- have a computer
Uploading the software to the NodeMCU requires these steps:
1. Install development tools
a) Download or copy all the files that are in the workshop bundle online (Beware that it is 3.22Gb and takes a while to download) or from the USB sticks that will be available during the physical workshop to your computer.
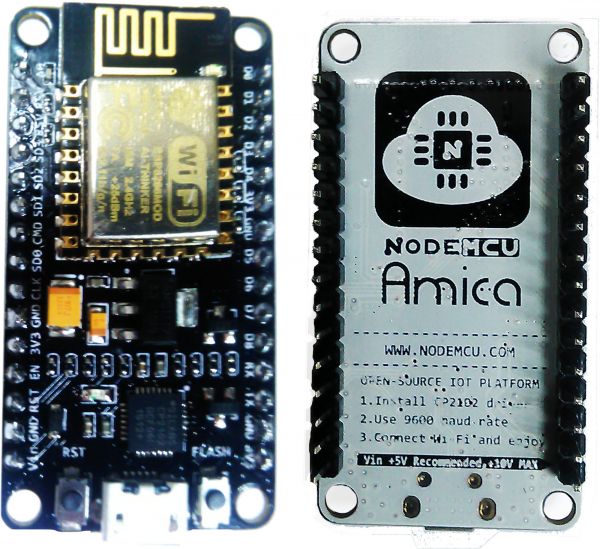
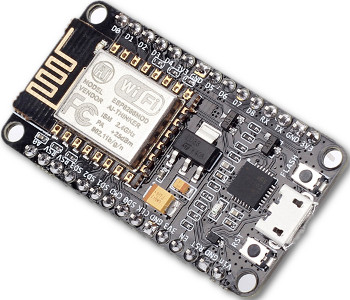
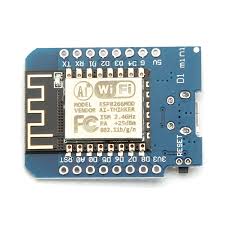
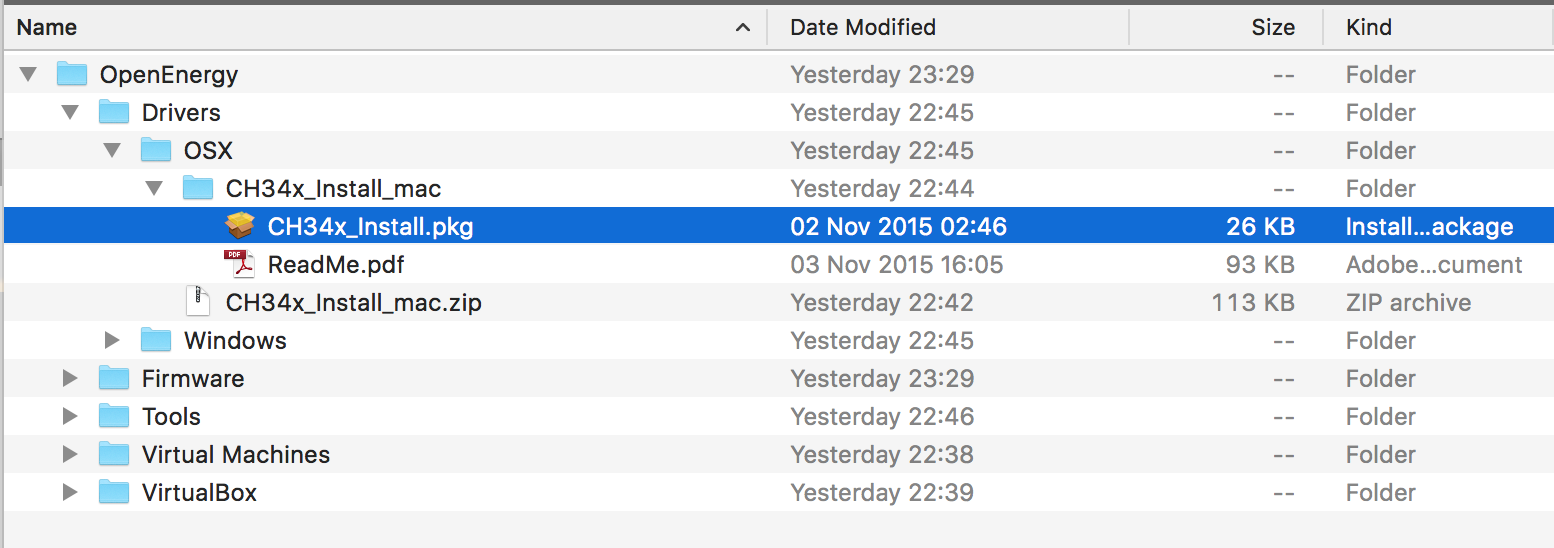 b) Open the driver folder and install the driver matching your operating system. Depending on what NodeMCU module you have there are two options in terms of drivers (see table below).
|
|
|
|---|---|---|
| Version 2 (CP2102) | Version 3 (CH34x) | D1 mini (CH34x) |
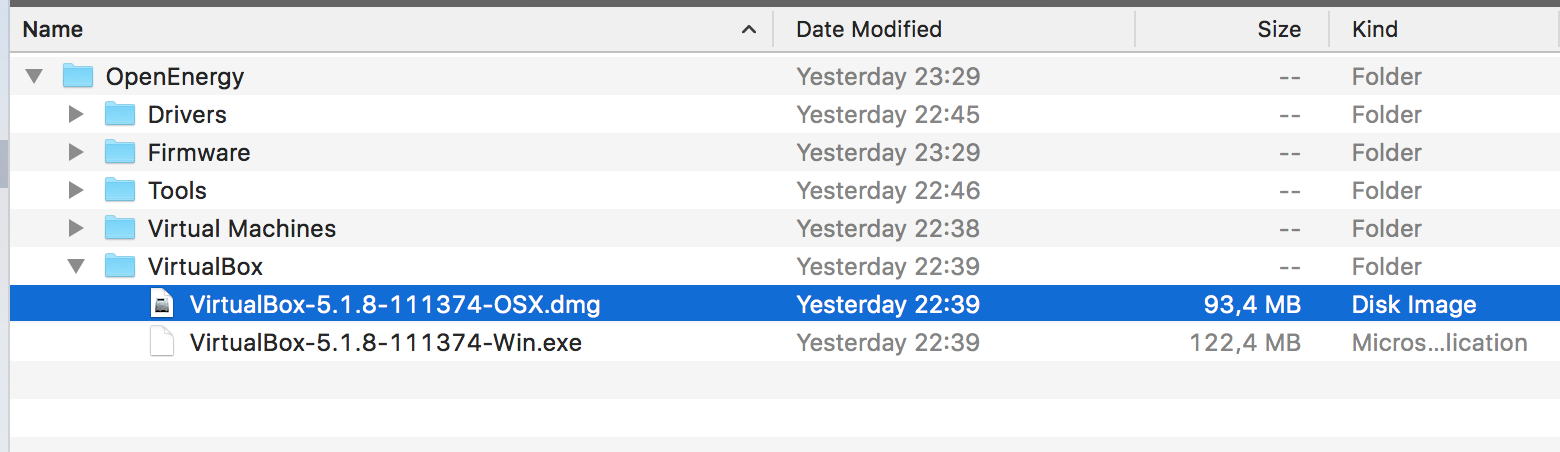 c) Open the folder named VirtualBox and run the installation file that matches your operating system.
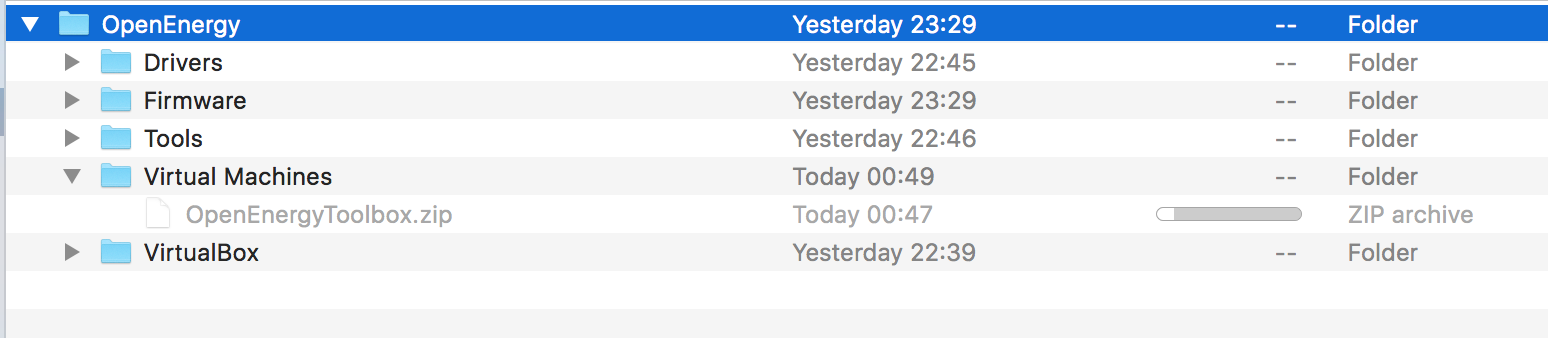 Open the folder named "Virtual machines" and click on the file named OpenEnergyToolbox.zip to unzip the the virtual machine (this can take some time).
 Open the folder that was created named OpenEnergyToolbox and double click on the OpenEnergyToolbox.vbox file. A virtual machine will now start with all the development tools preinstalled.
Connect your NodeMCU with a USB cable to your computer if you haven't done so already.
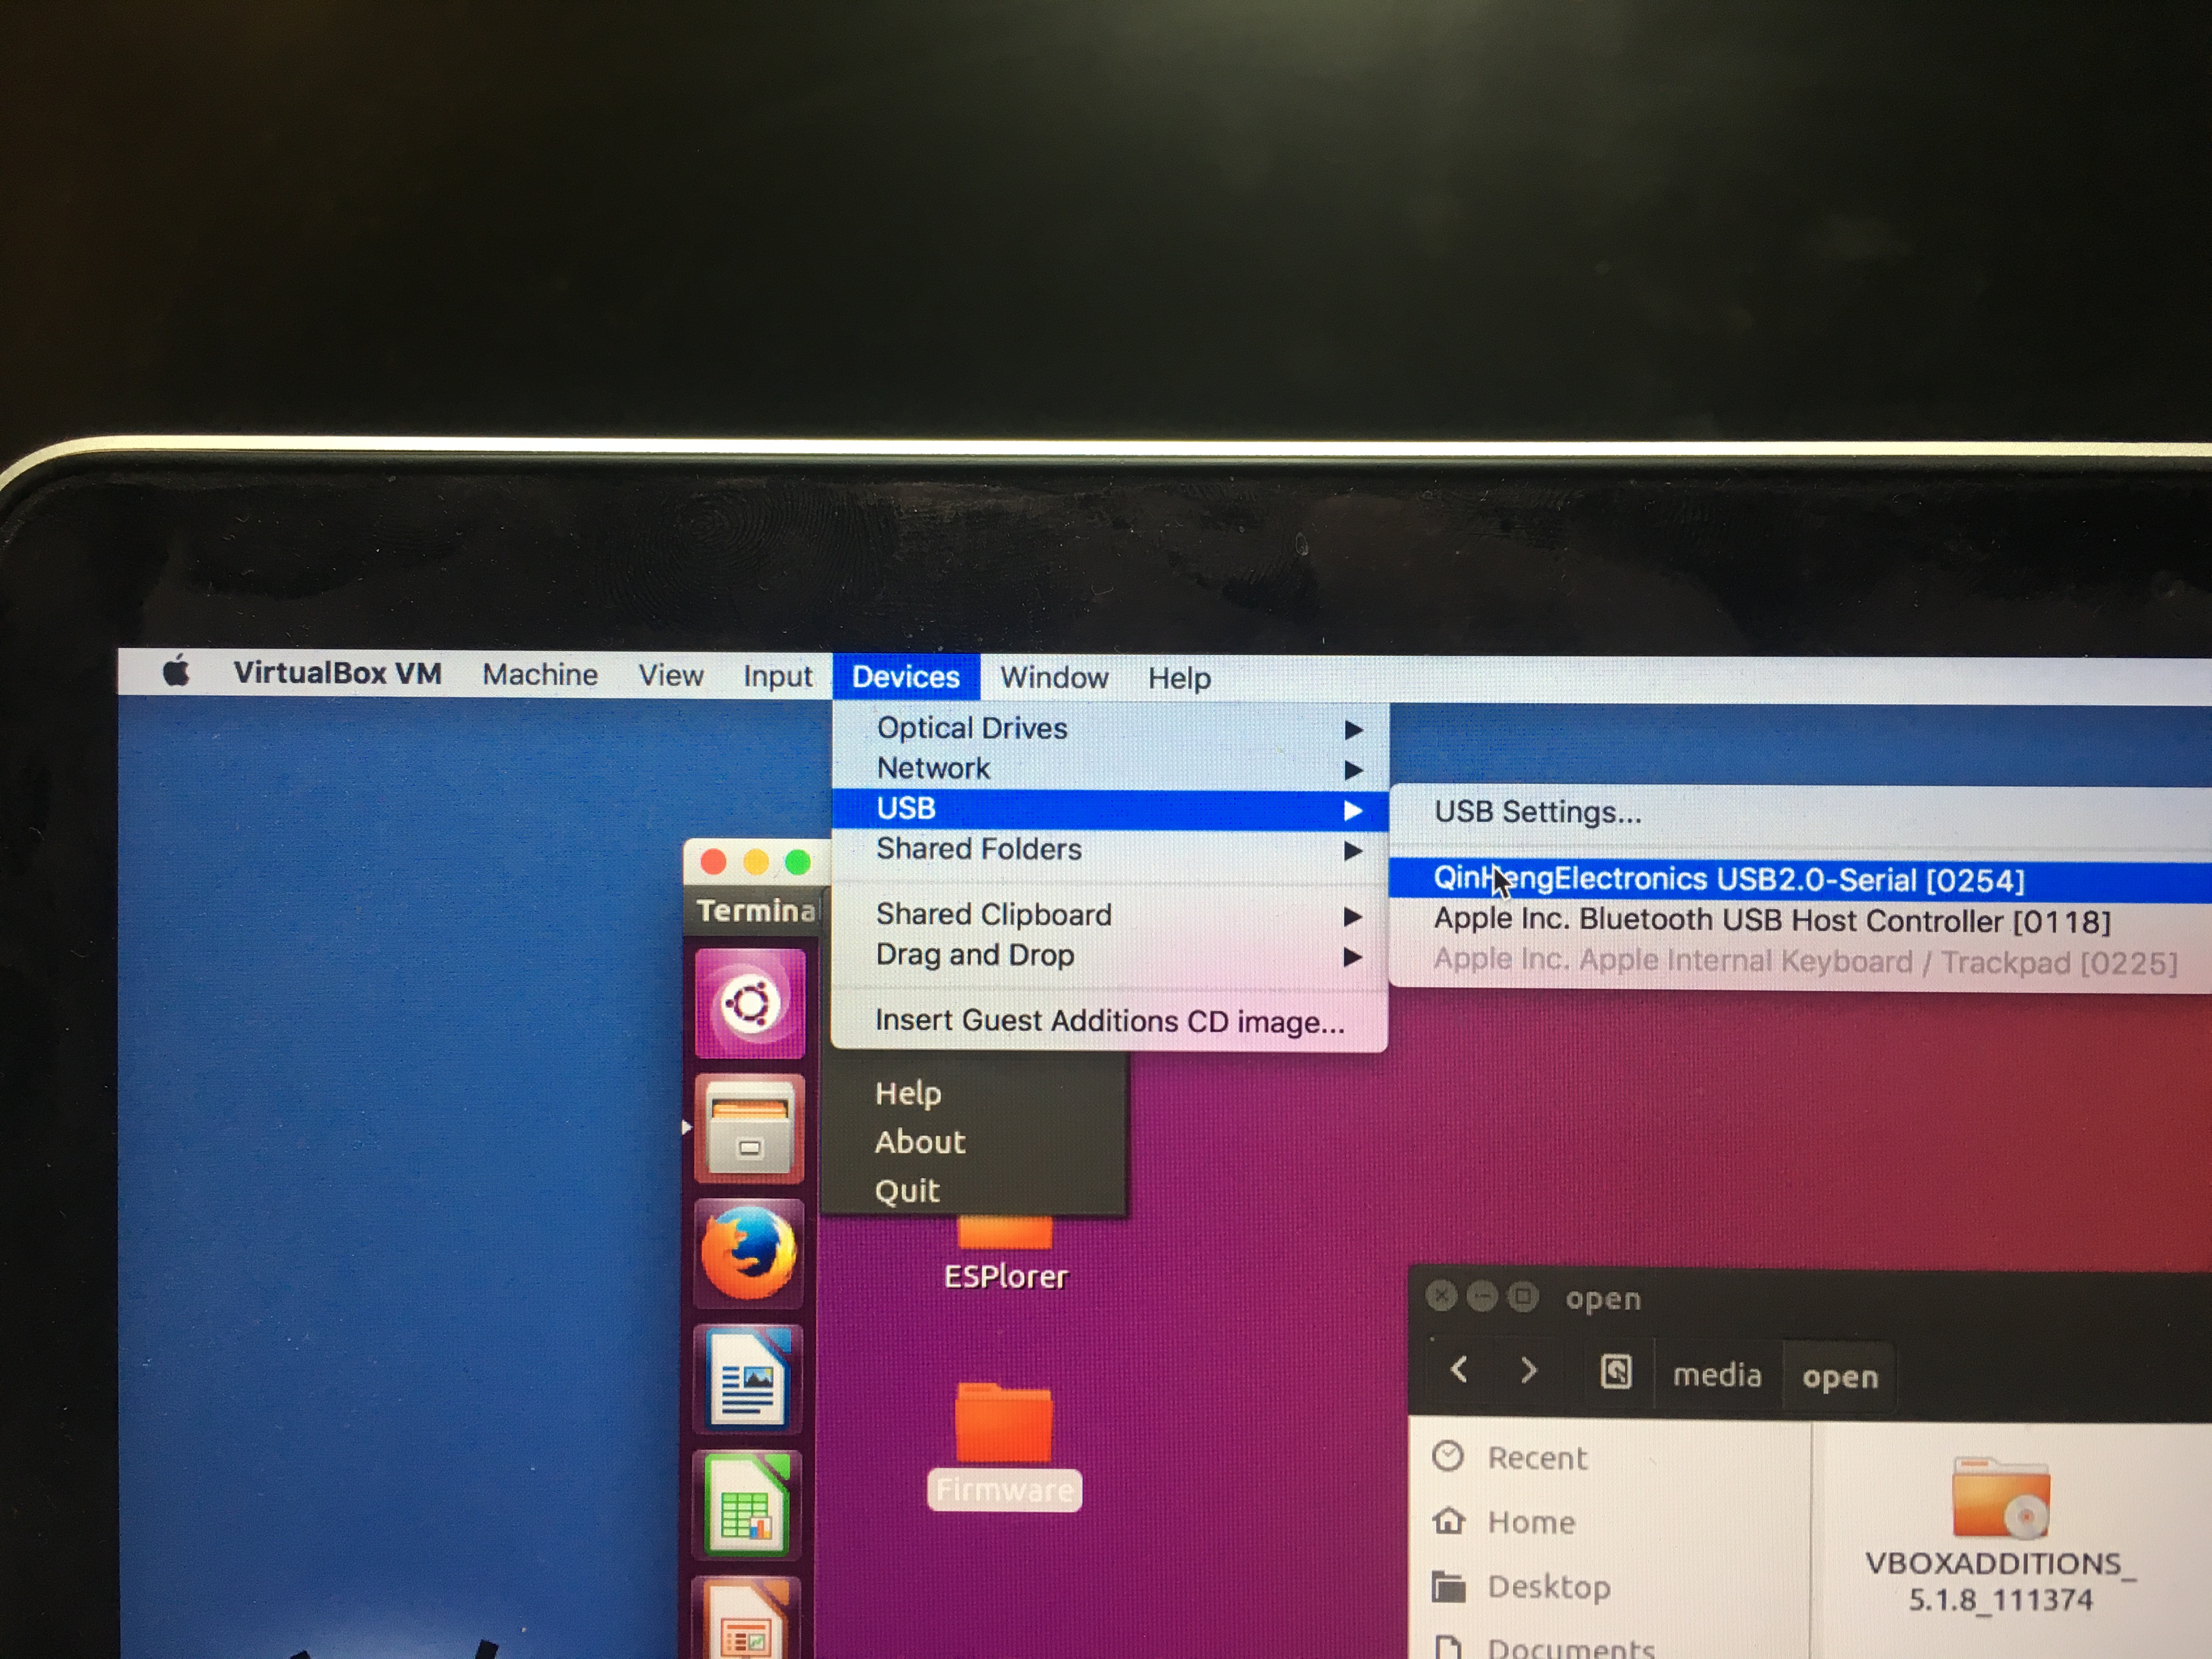 Once in the virtual machine in the menu click: Device -> USB and select QinSengElectronics USB2.0-Serial (the name might vary on different operating systems). The name should appear after you plugged in the NodeMCU and disappear when you remove it.
2. Upload the program
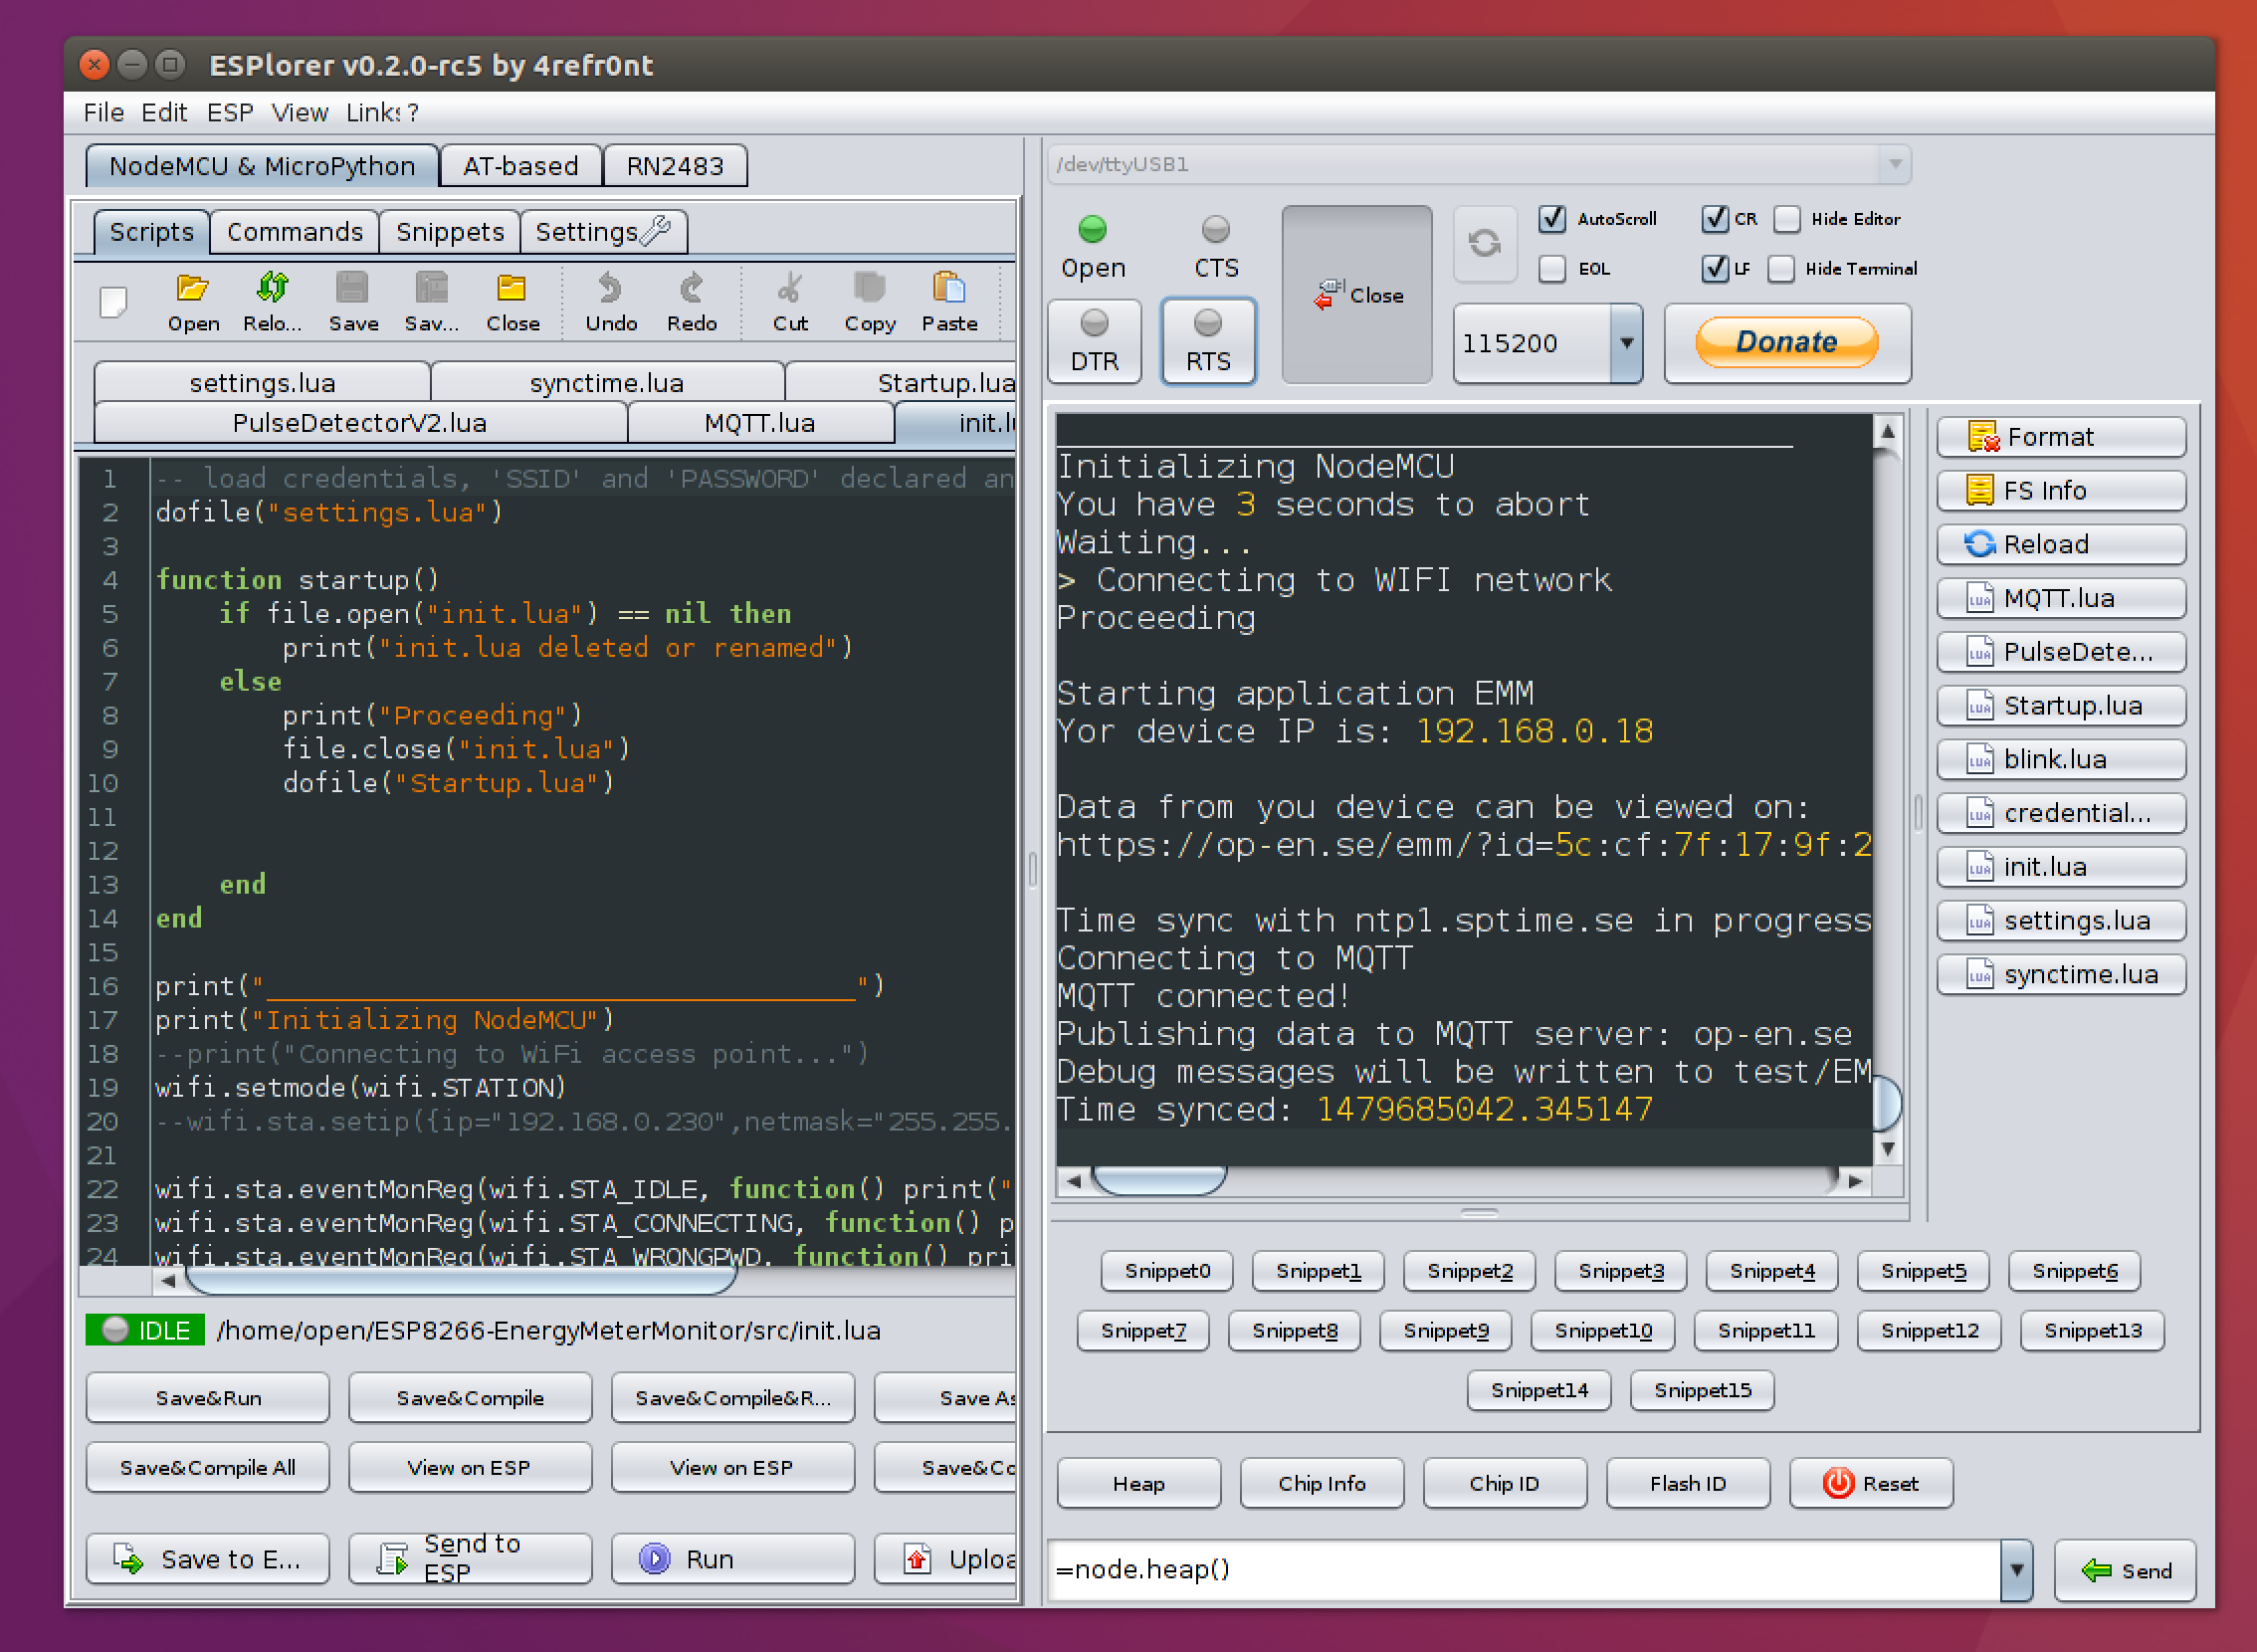
Open the ESPlorer program. It can be found in a folder on the desktop called ESPlorer and is started by double clicking the ESPlorer.jar file. Wait until it starts.
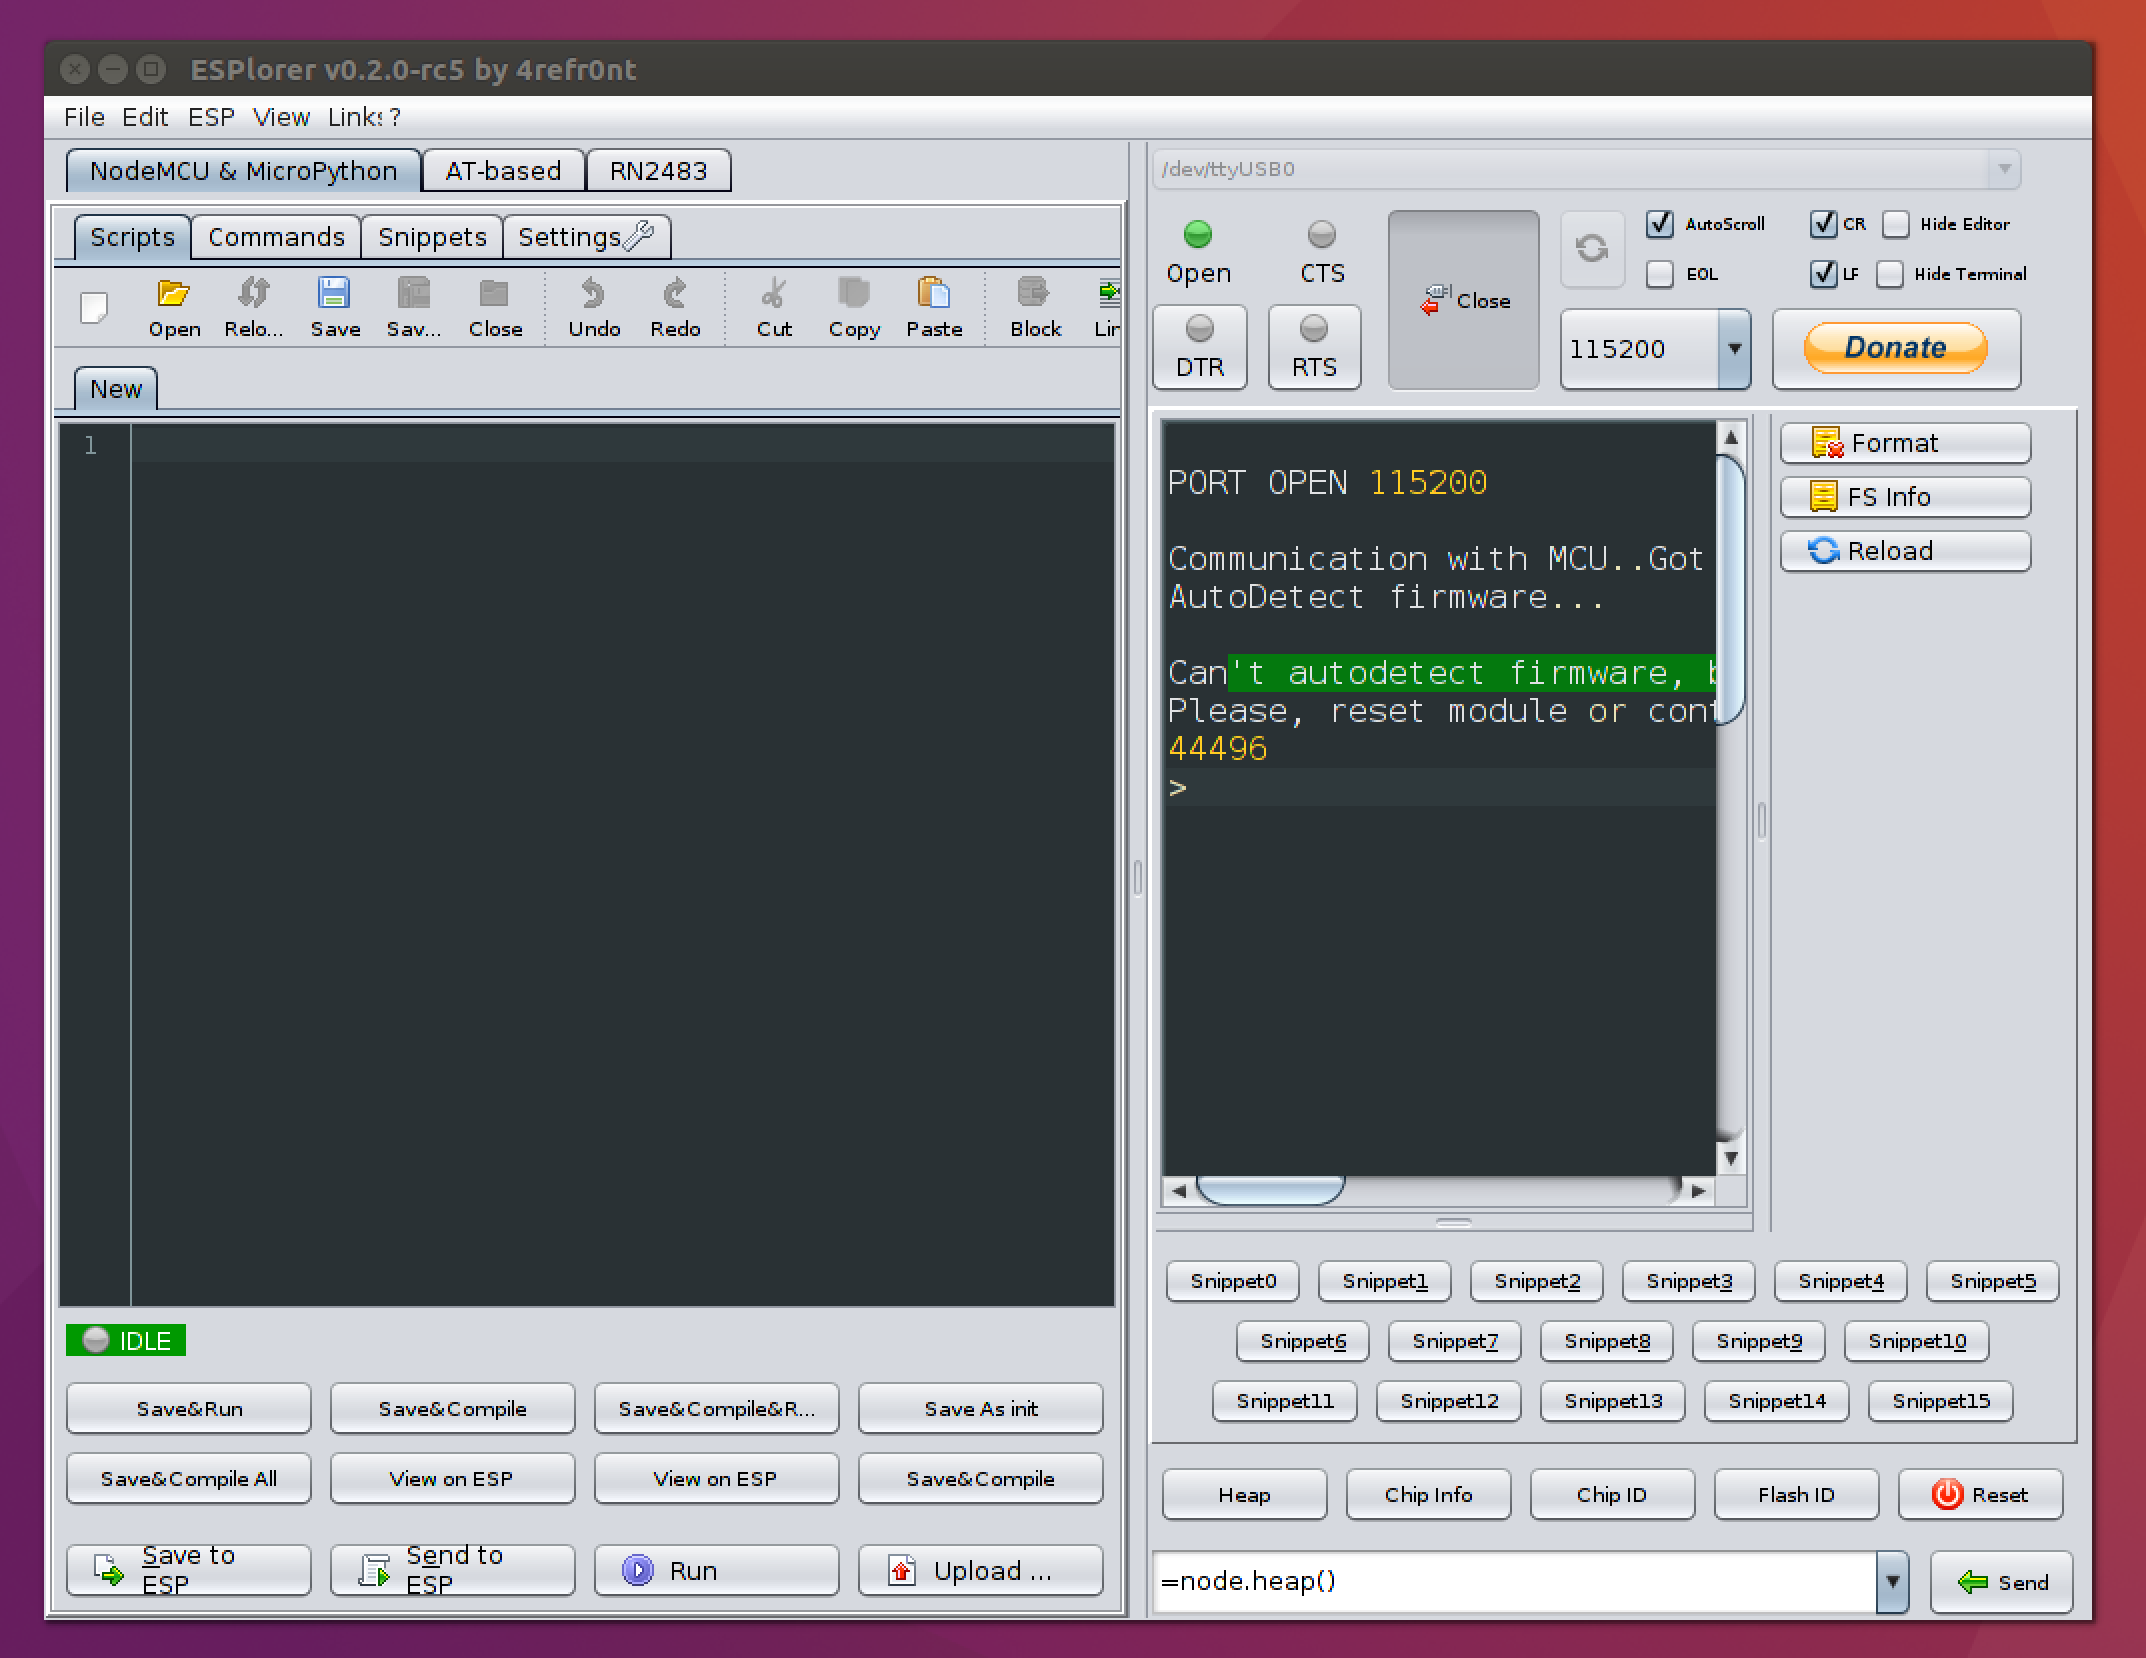
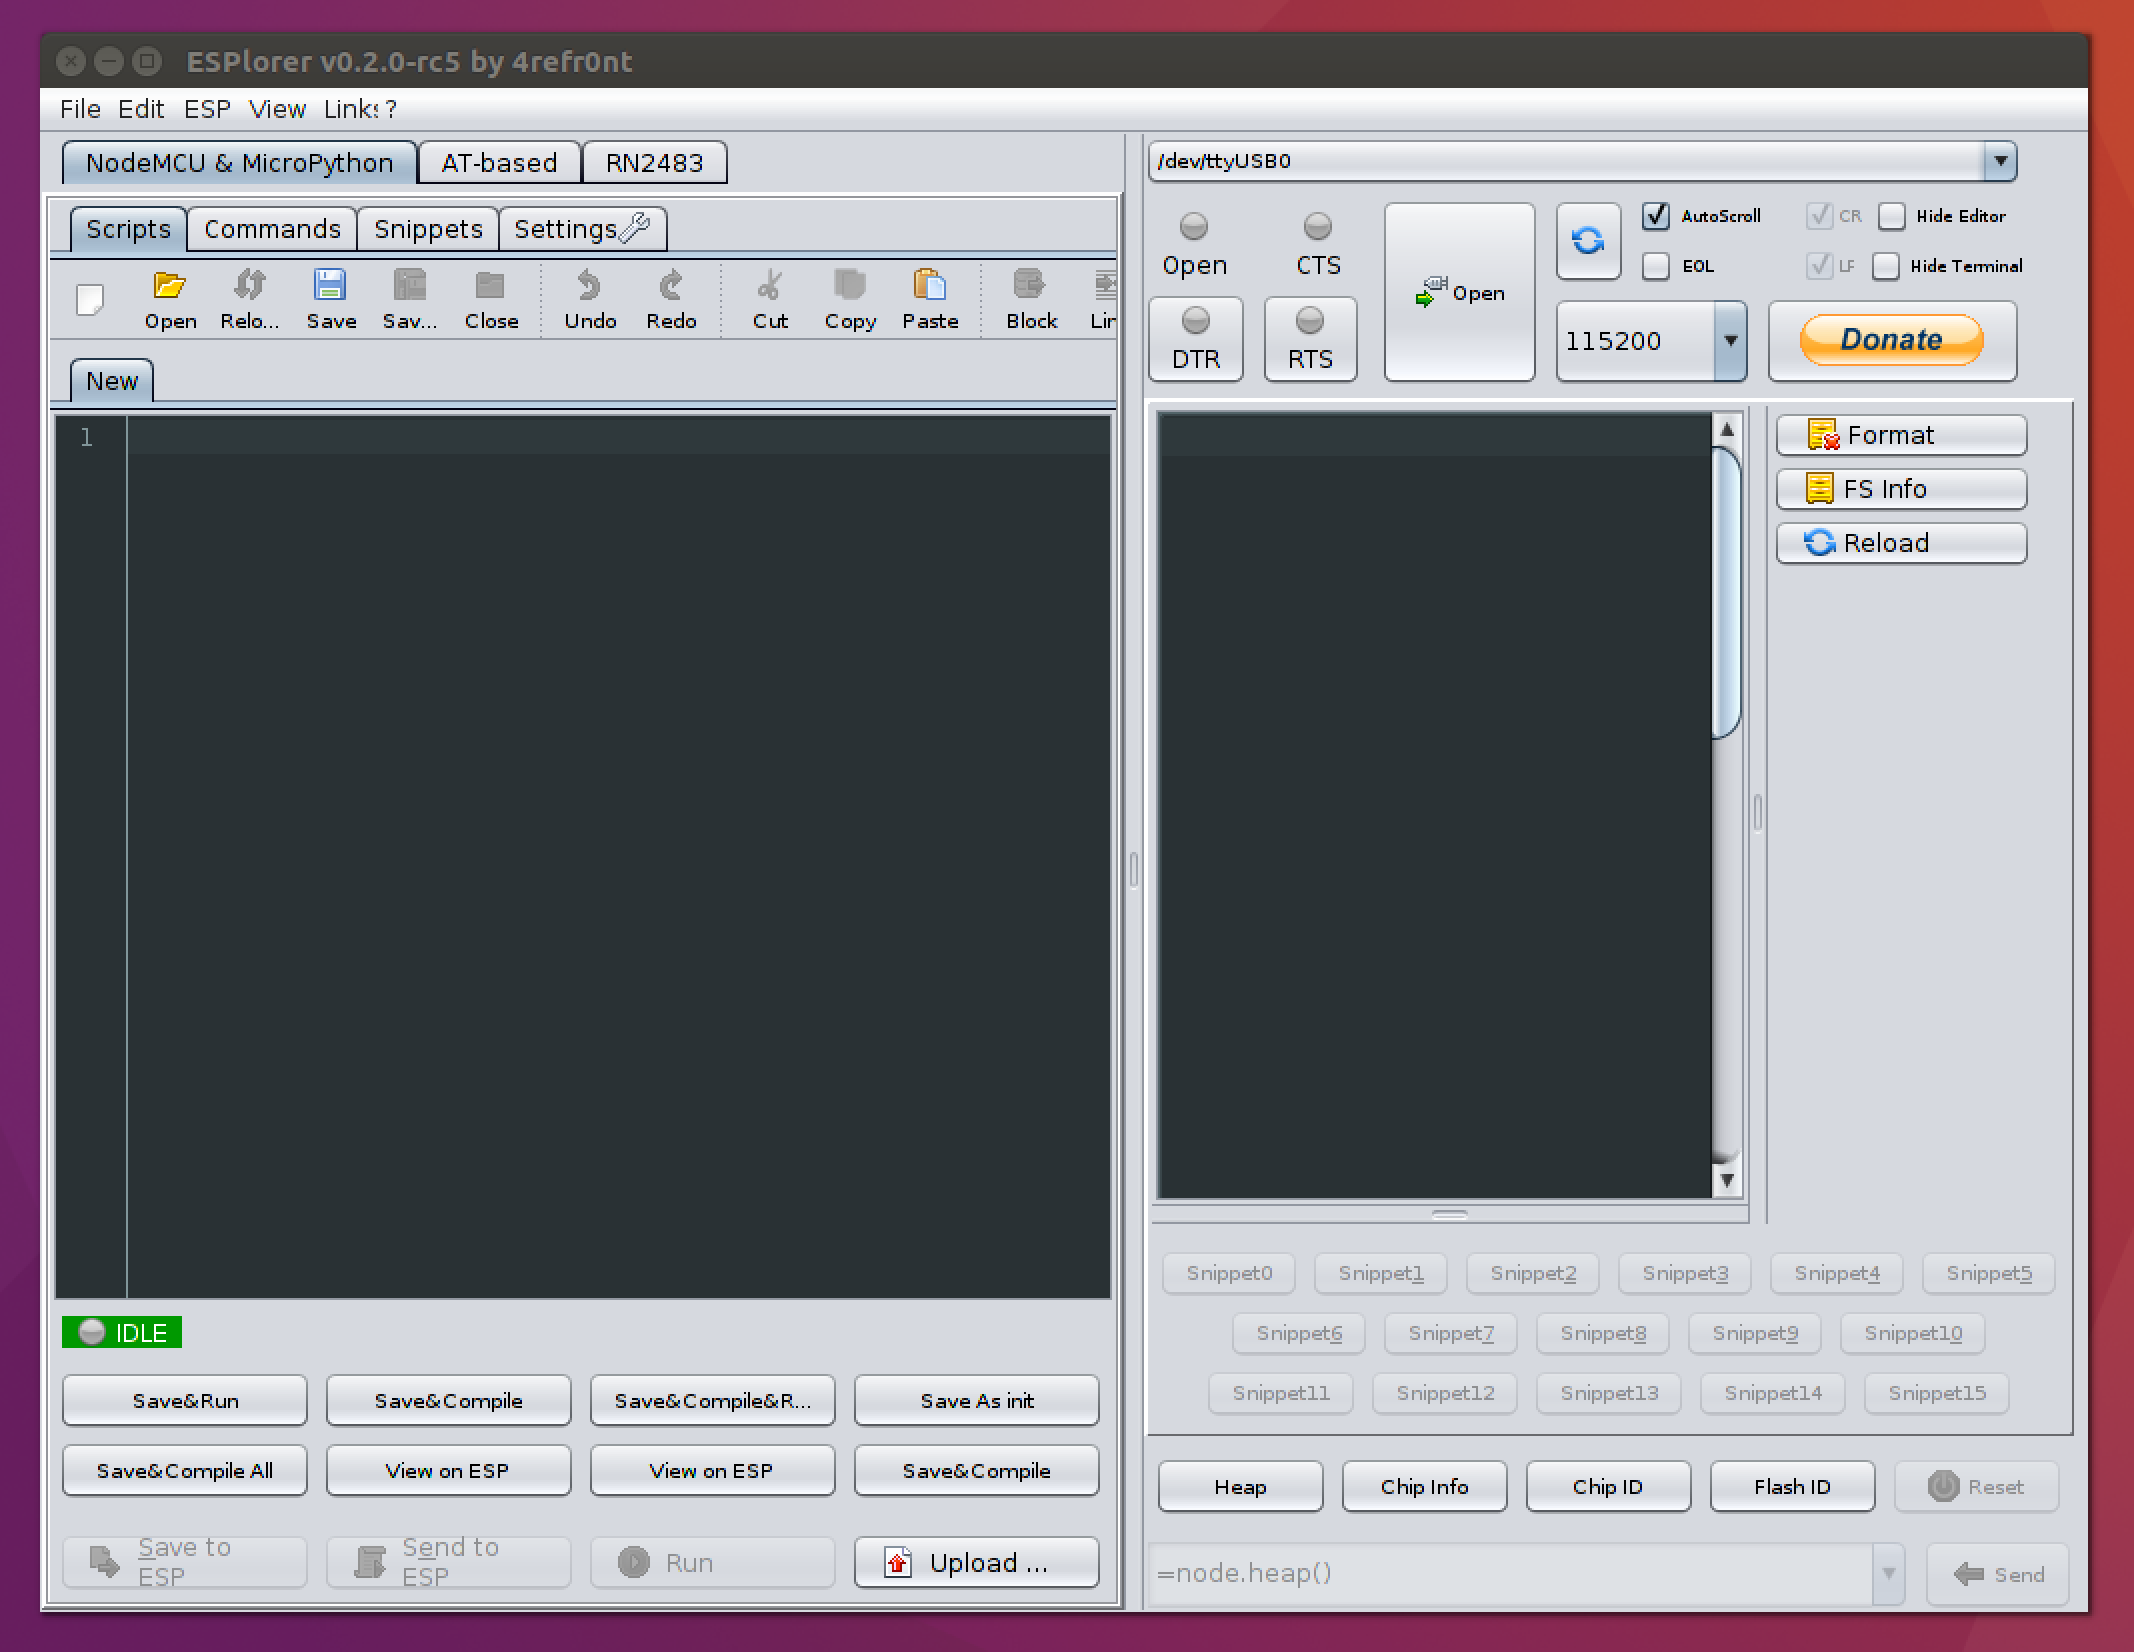 Check that settings in the top right area are as in the picture and click the Open button on the right side of the program.
 To check if you are connected to the NodeMCU you can now either press the heap button in the bottom torwards the middle or press the reset button on the module itself and you should get some printouts in the terminal.
You can also test that you have a good connection to the module by entering
print("Hello world")
in the white box on the bottom right and then press the send button text to it. The readout should say
>print("Hello world!")
Hello world!
If you don't get the above reply you need to start troubleshooting your connection to the NodeMCU.
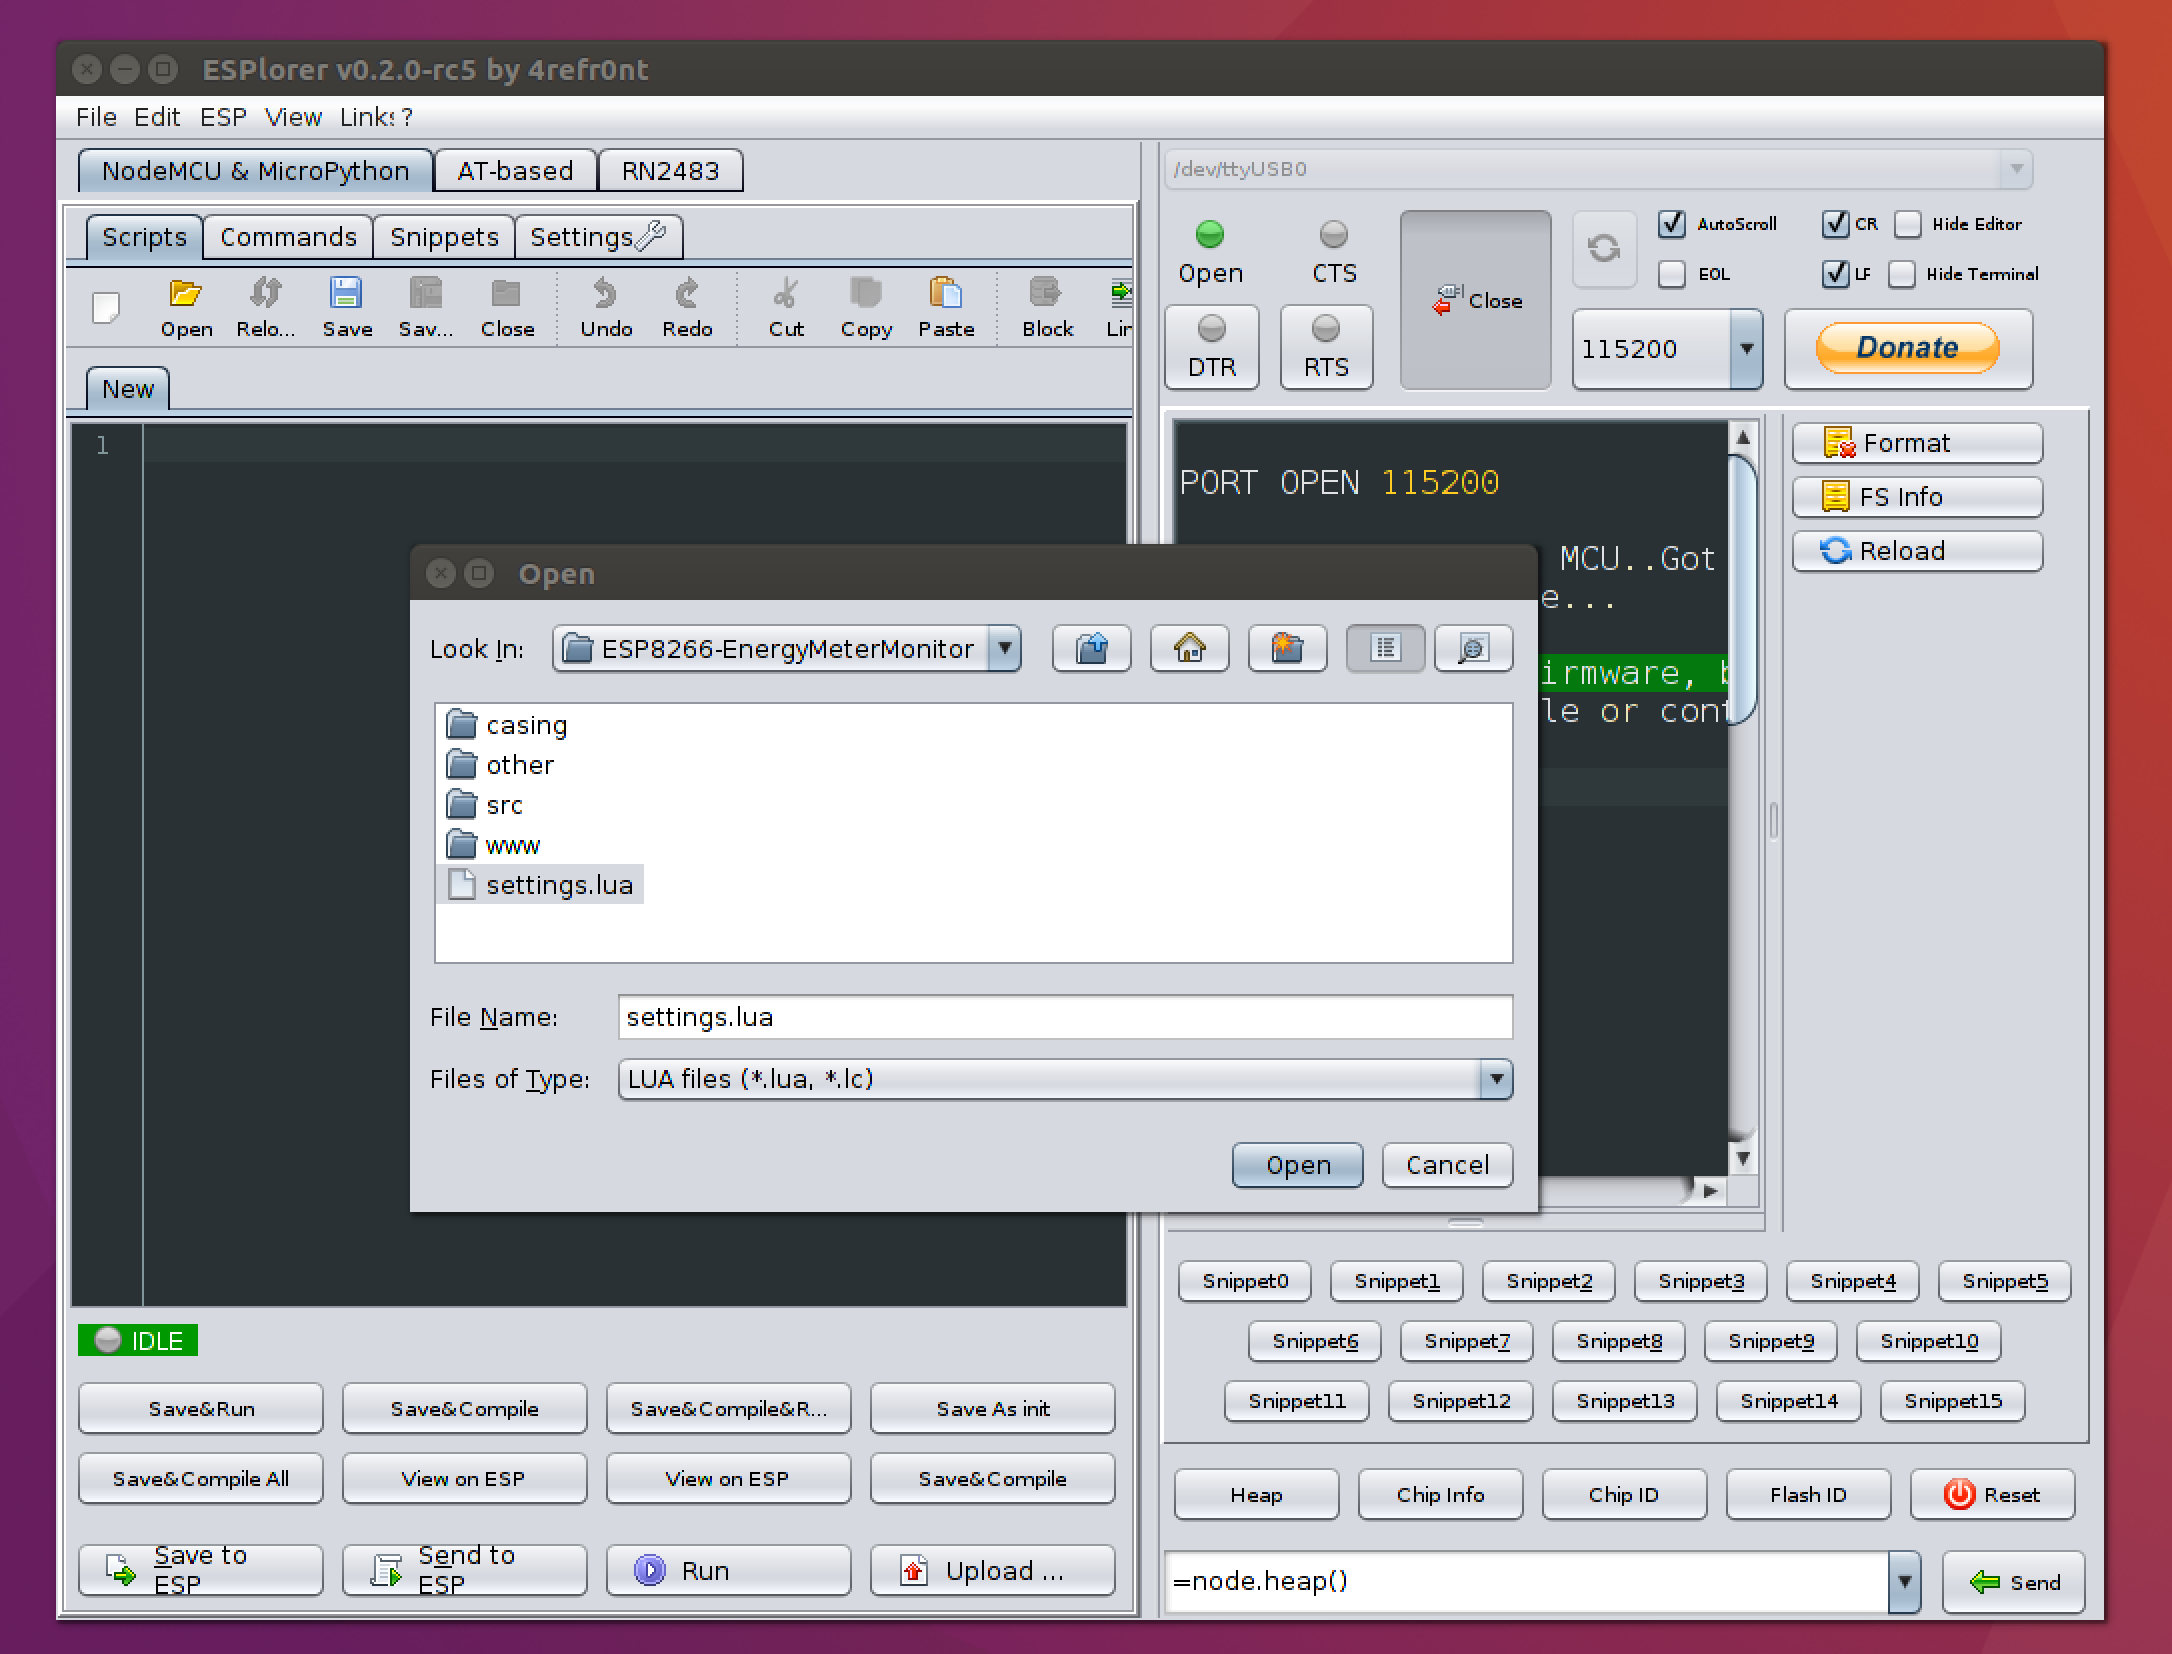 Now click open and open the file settings.lua inside the ESP8266 folder. This file contains WIFI credentials and some other setting that you will need to change when deploying the monitor in your home. Among other things how much each pulse form your electric meter represents (this varies some across different manufacturers and meters).
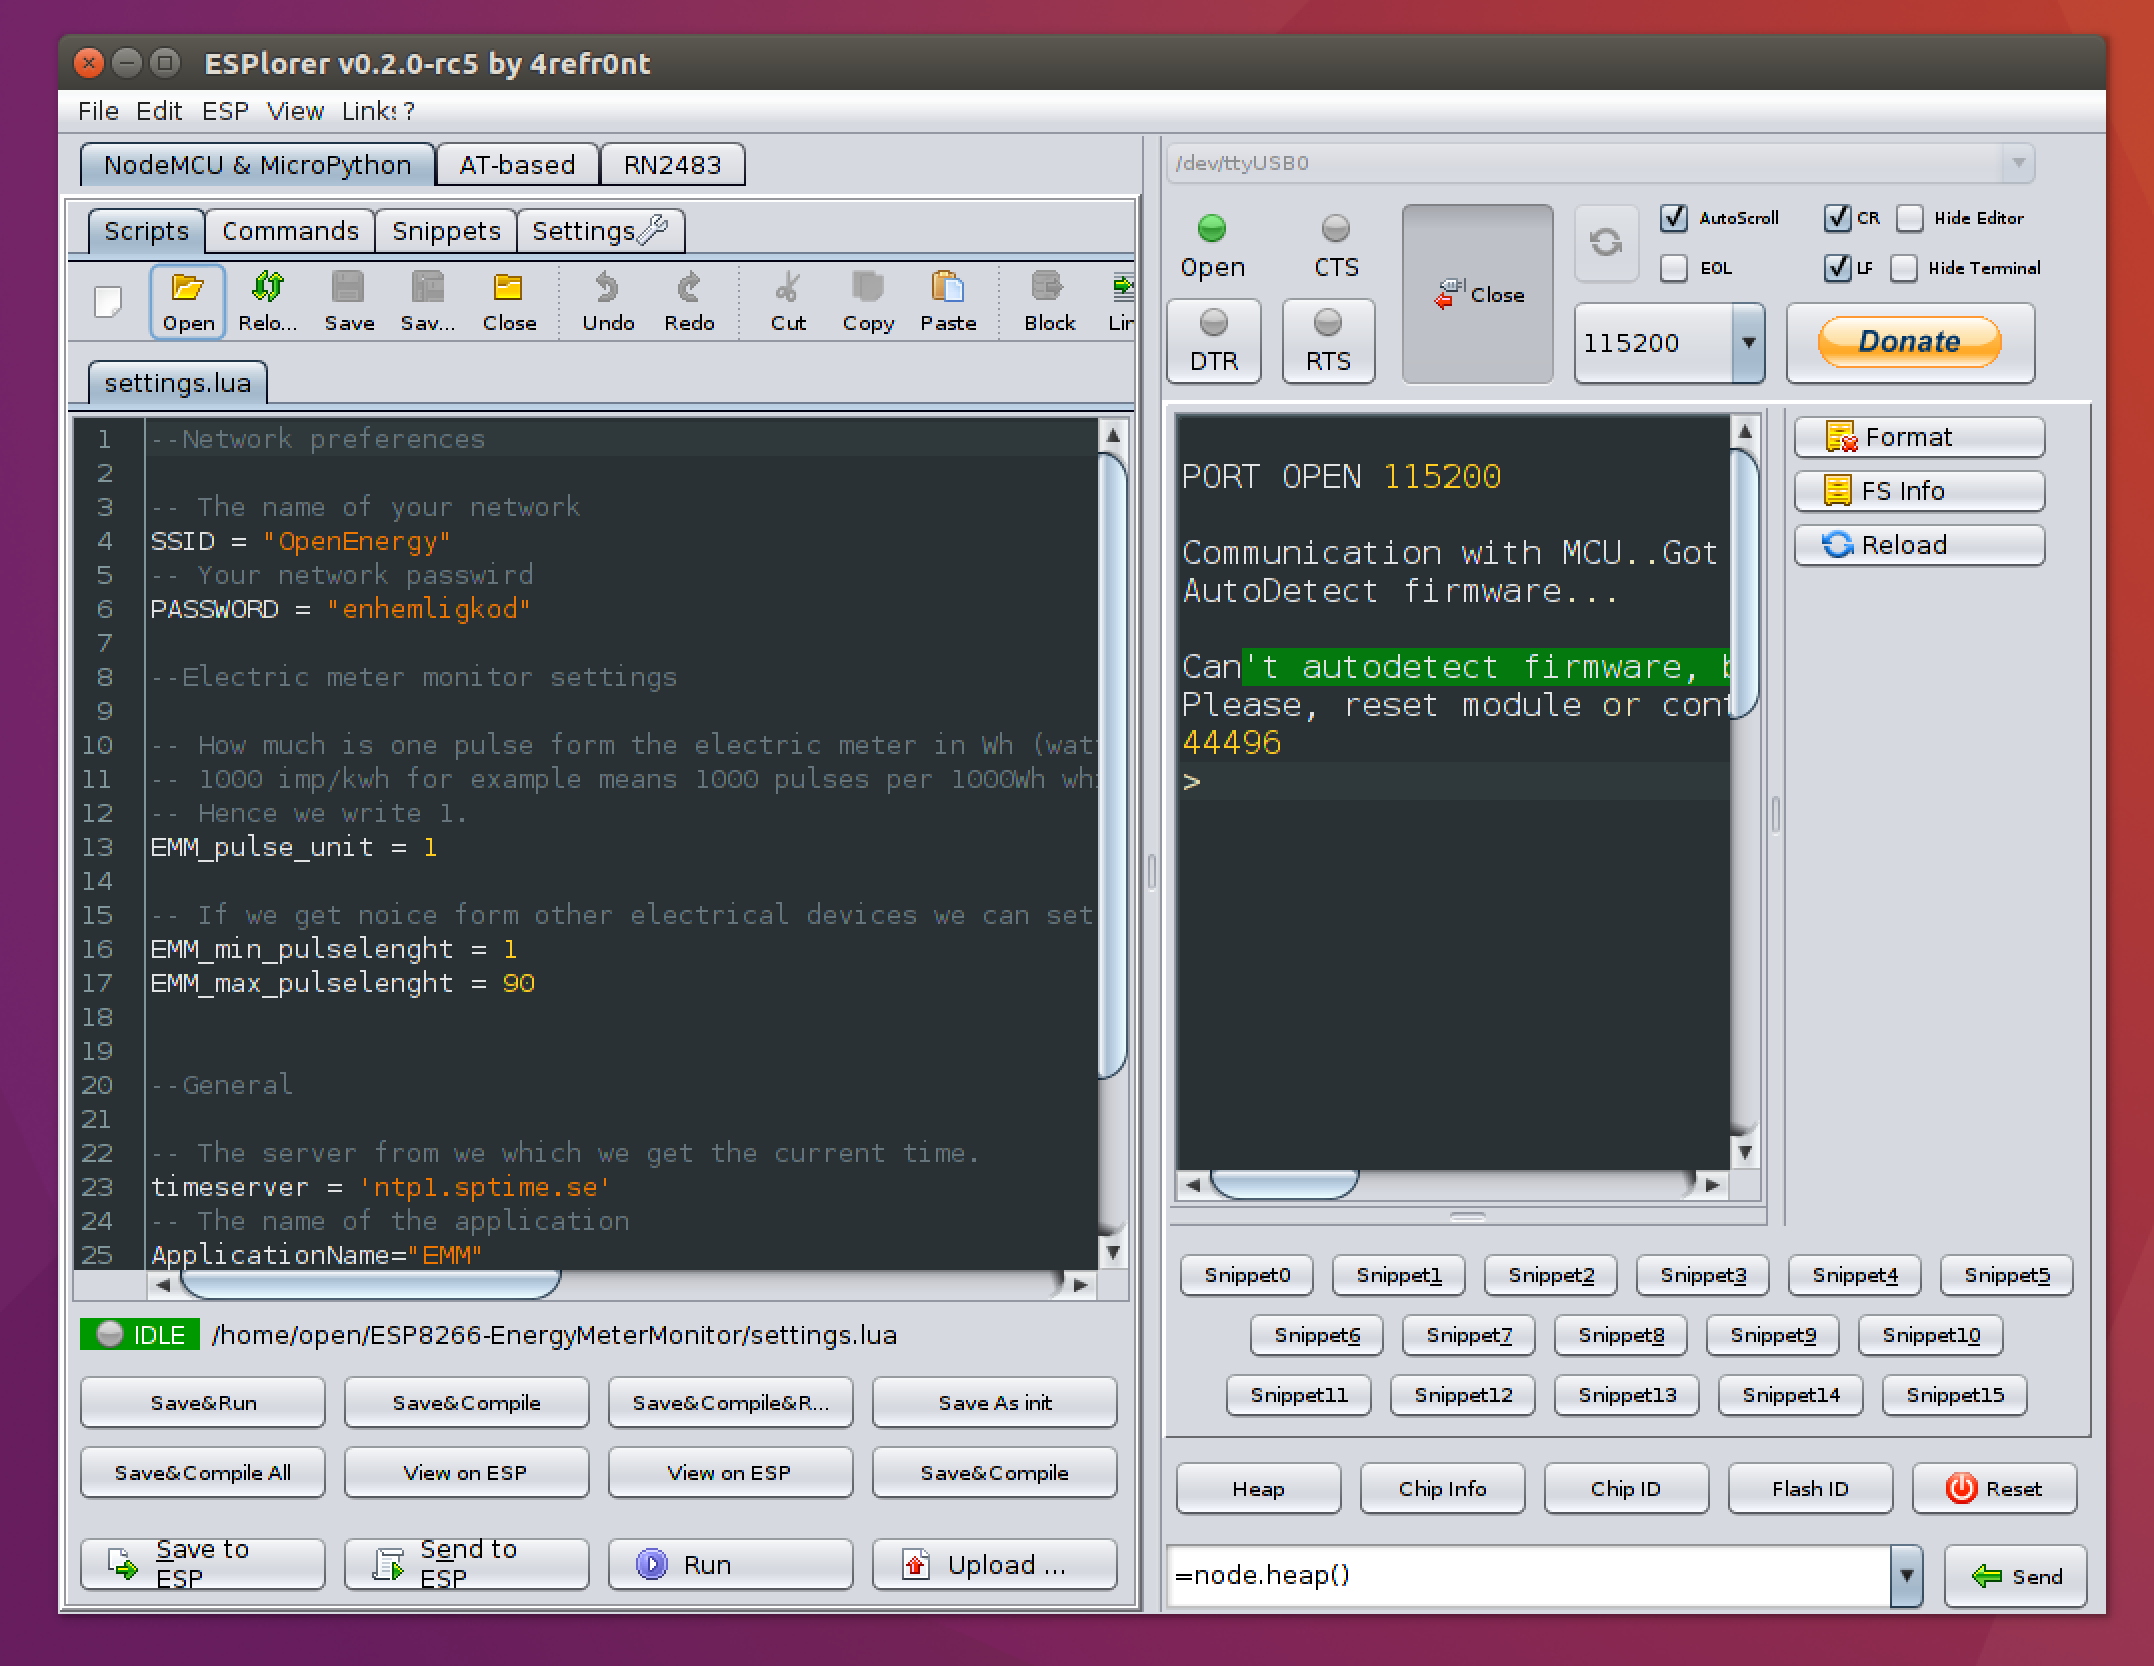 Press the Save to ESP button in the left bottom corner to send the file to the NodeMCU.
Now open all files inside the src folder and send them to the NodeMCU with the same button. Take care to save the init.lua file to last. After you are done you can press the reload button on the far right (blue arrows) and it should look like this.
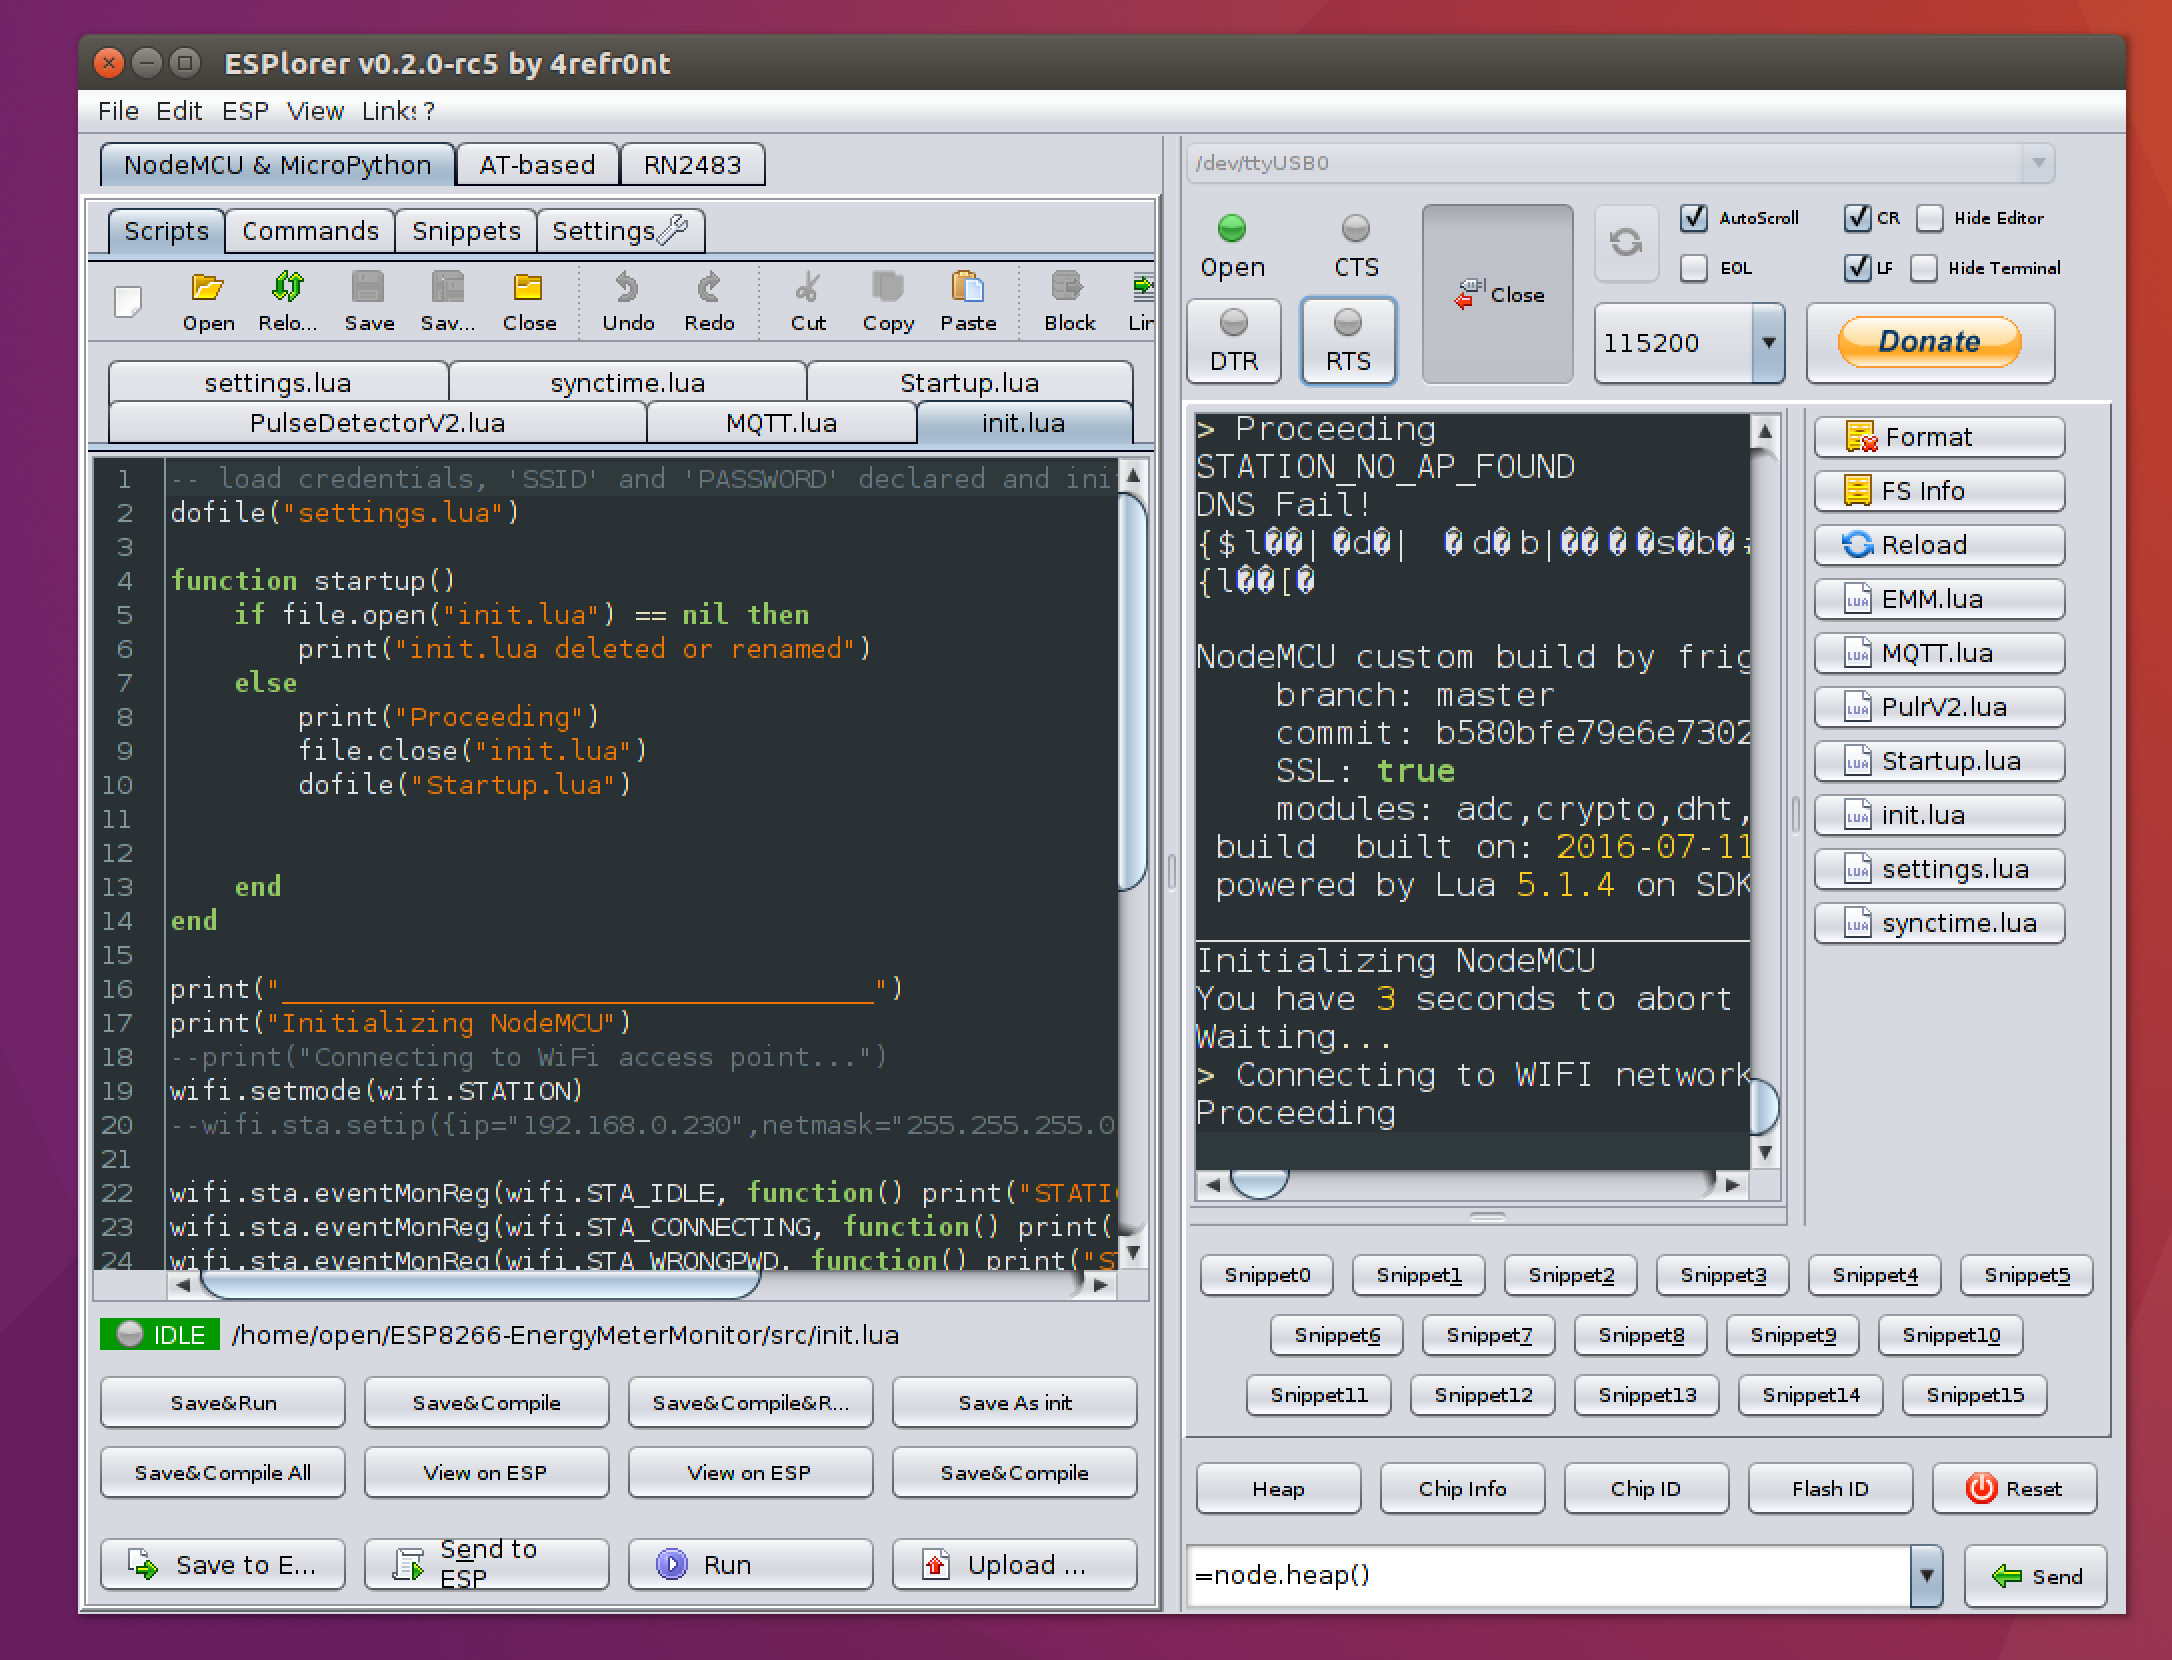 The list of files on the right represents the files exists on the NodeMCU.
Finally, reboot the NodeMCU and write down the data url printed by the NodeMCU in the ESPlorer console. It begins with https://op-en.se/emm/?id=...
When you have that link enter it into the web browser and then proceed to connect your meter or some other flashing light for testing.
Testing and troubleshooting
Copy the url that is shown in the console window of ESPlorer once the device is booted and paste it into a browser.
It should look something like this:
https://op-en.se/emm/?id=XX:XX:XX:XX:XX:XX
Where the XX:XX:XX:XX is the unique id of your device.
Once in the webpage you can then either swipe a flashlight past the photo sensor or mount it on an electric meter. If you use a flashlight flashing it once every second should produce a value of 3600W.
The blue light on the NodeMCU board should light up every time you shine the flashlight into the sensor or when the pow-er meter that you attached it to flashes. If it doesn’t try reversing the phototransistor or simply use stronger flashlight or add the parallel resister as described earlier. Also check the cables and try rebooting the device. You might also have to reprogram it. If the blue LED is instead always on try using a smaller resistor.
If successful it should look like in this video: https://youtu.be/zxHxe6TVfRg